Hi! Long time no update. Have not had time to film, but that doesn't mean I've stopped. I just started my pseudo-side catering business. Please see related page here: https://www.facebook.com/gastronomicrelevancy Desserts, pastries and catering. :) Here's a sample of what I make.
Oden
Apple roasted pork tenderloin
Apple and bacon warm salad
Kabocha squash potage
Bulgogi
Tteokbokki
Mango salad
Savoury meat mooncake
Gomaae
Okonomiyaki
Chocolate cheesecake
Piped butter cookies
Apple coffee cake
Spiced pear cupcakes
Pannatone
Chocolate chip cookie dough cheesecake
Swan cream puff
Green tea mousse cake
Chocolate banana peanut muffins and chocolate banana peanut squares
Summer is finally here! Sunshine and warm weather are definitely a welcomed change after a brutal 6 month long winter. With summer comes picnics and barbeques! These are perfect perfect for those occasions. They are baked date and apple spring rolls or 枣泥苹果春卷 zǎoní pínggǔo chūnjǔan. These are naturally sweet with no added sugar and are much healthier than their fried relatives.
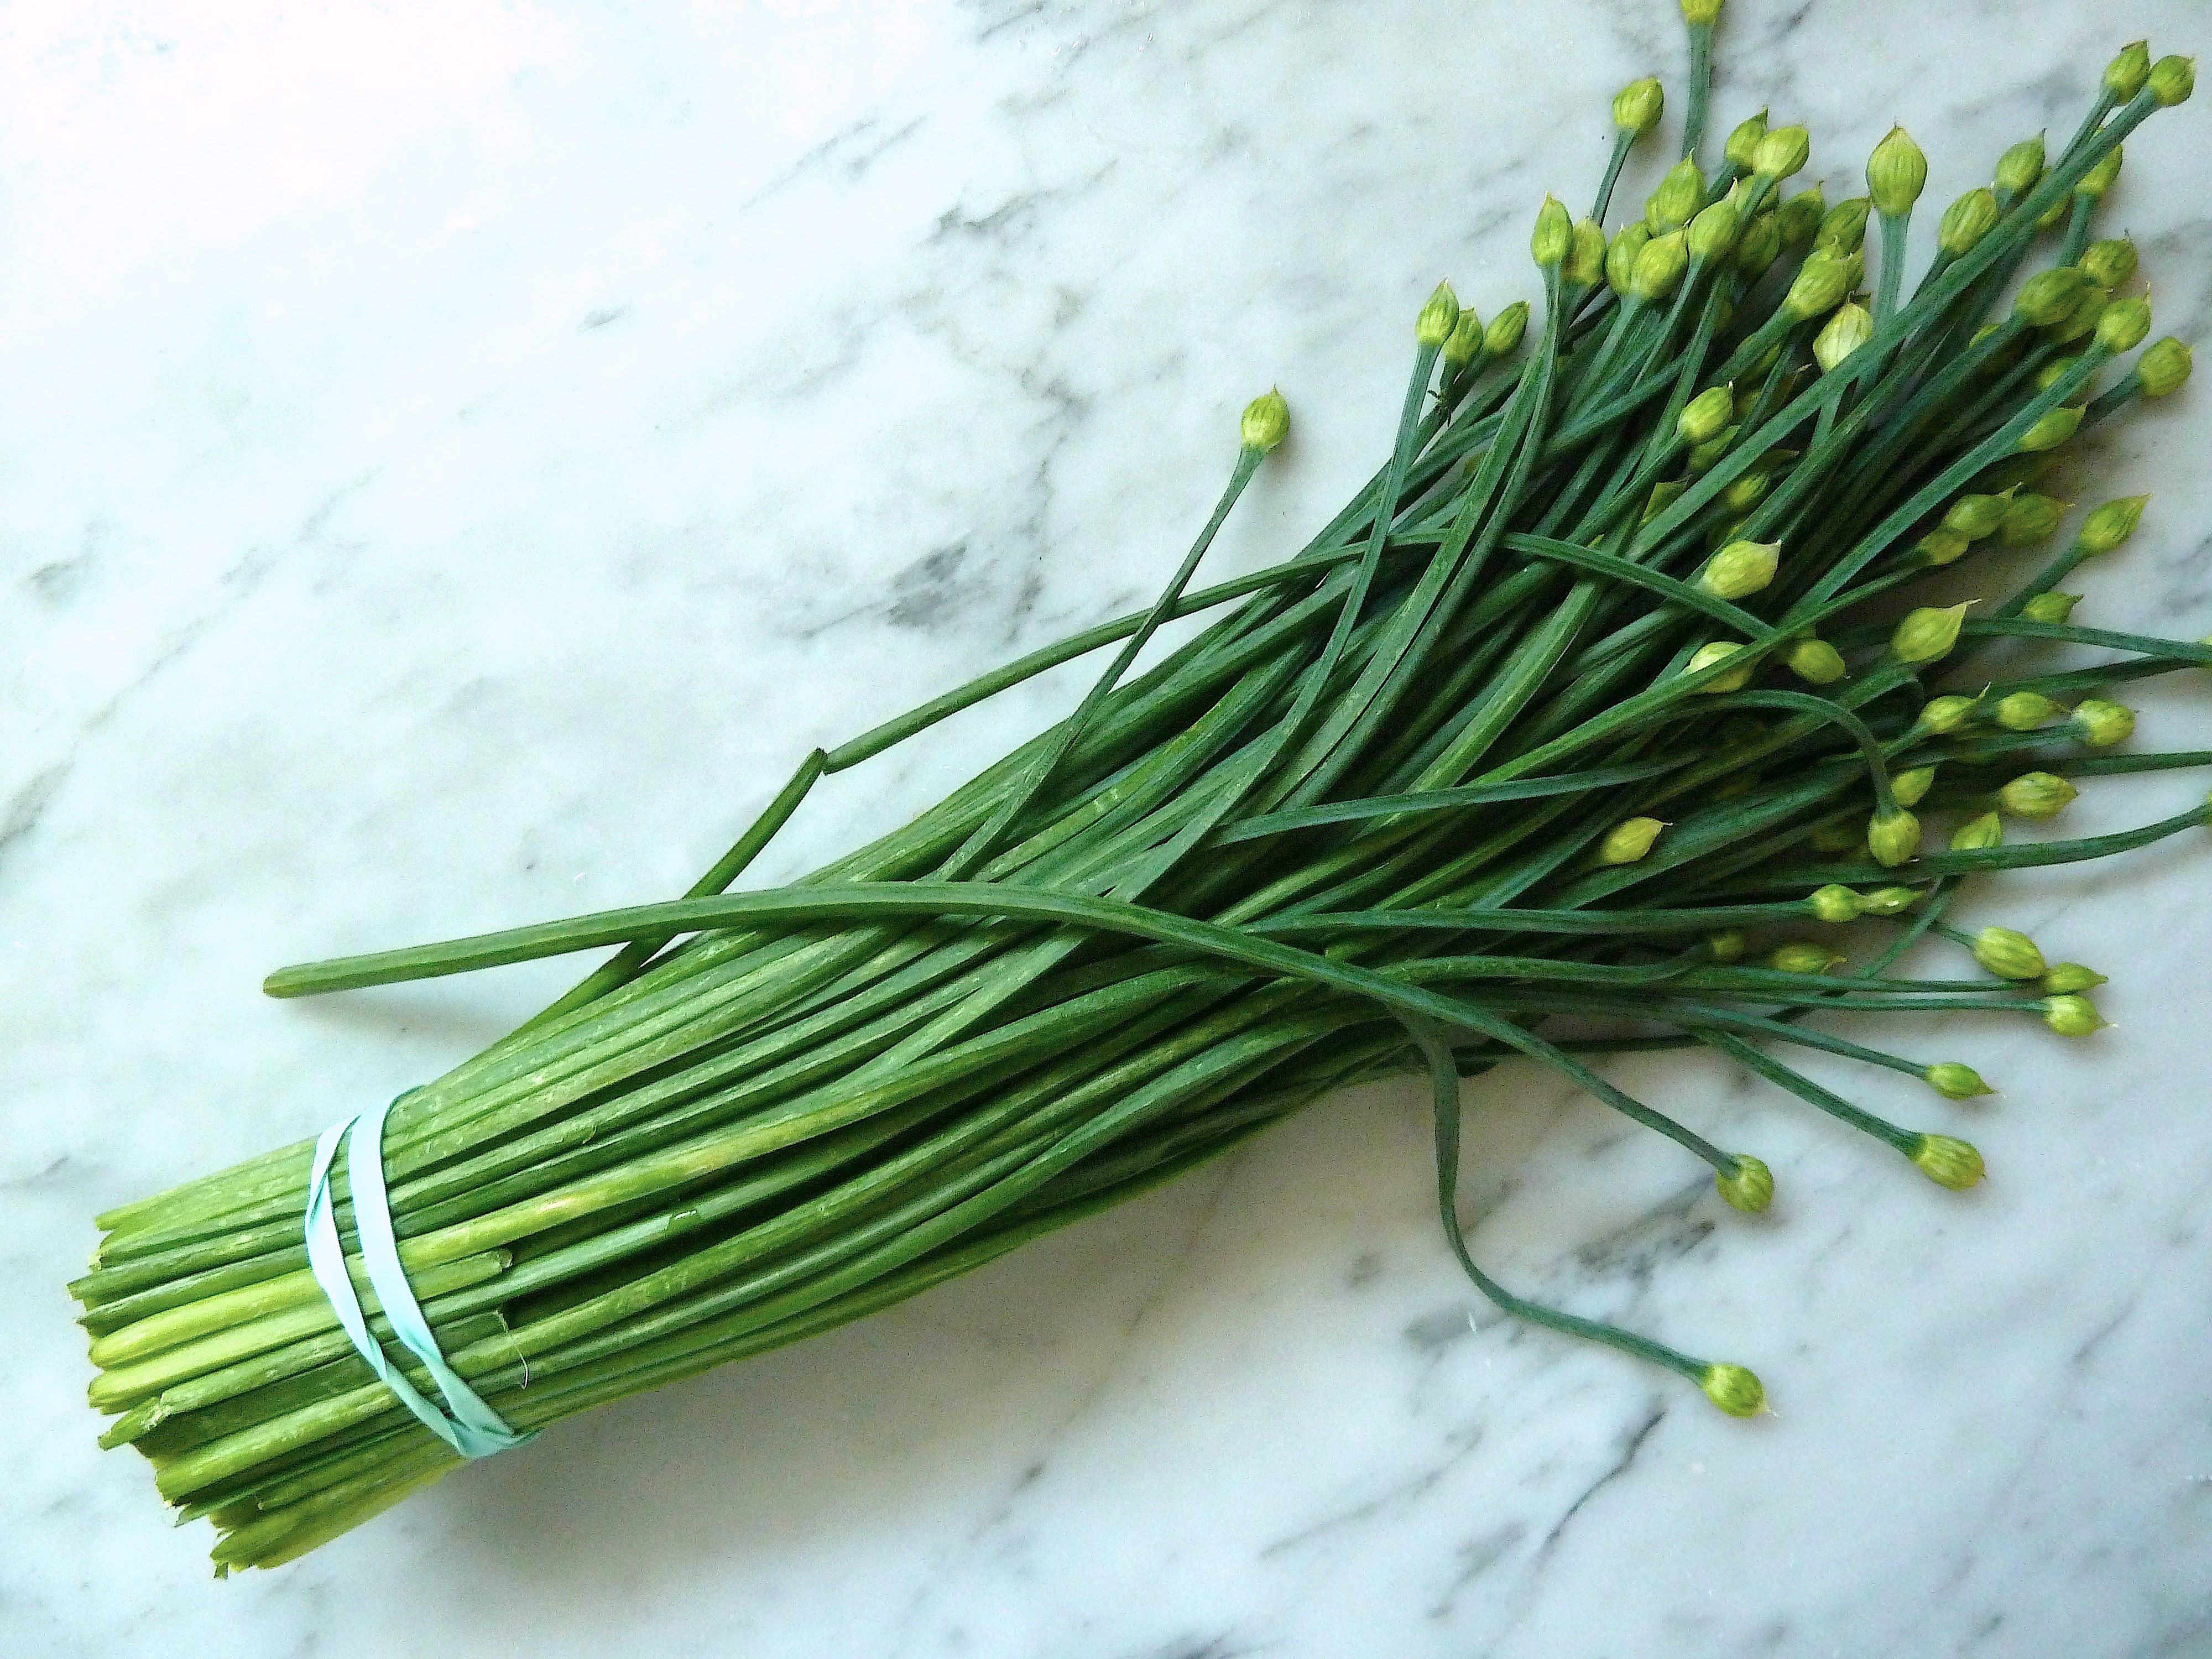
Spring rolls are generally served during the spring festival in northern and eastern China. The spring festival is commonly known in the west as Chinese New Year or Lunar New Year. "Spring Festival" is the literal translation of the name of this occasion from Chinese. These delicacies were considered a once in a year treat but are now available for sale just about anywhere. They traditionally consist of various fillings wrapped in a thin pastry skin and deep fried. There are a wide variety of fillings that can be used ranging from the ordinary shredded cabbage, carrots, ground pork, shrimp, eggs, rice vermicelli noodles to the more exotic like: Source: http://spiceboxtravels.com/2011/06/07/eat-your-flowers-chive-flower-omelet/
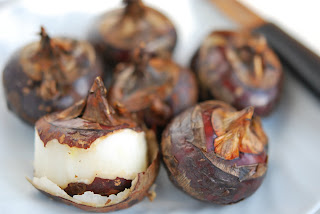
Garlic Chives Source: http://www.sefood.net/products/edible-tree-fungus,-wood-ear-fungus-ID140.html Wood Ear Mushrooms Source: http://www.greenishthumb.net/2010/04/growing-buying-cooking-water-chestnuts.html Water Chestnuts The varieties are endless, but they are traditionally savoury fillings. Recently, sweet fillings have been on the rise in popularity ranging from red bean paste to bananas and chocolate. My twist includes the use of dates.
Ingredients:
Filling:
2 lb Medjool Dates
2 tsp cinnamon
1/4 nutmeg
1/2 salt
1/2 tsp vanilla extract
1/3 cup water and a few tbsp extra
2 small Granny Smith Apples
Apple Soaking Liquid:
1 tbsp lemon juice
3 cups water
Paste:
1/2 cup water
1/4 cup all purpose flour
Other Ingredients:
36 small spring roll wrappers
1/4 cup unsalted butter
1 1/2 tbsp mixed sesame seeds
Method:
Pit and chop the dates into small pieces and
place them into a sauce pan.
Add cinnamon, nutmeg, salt, vanilla extract and
water to the sauce pan.
Cook the date mixture on low and continuously
mash it with a spatula until it becomes a lumpy spreadable paste and set aside
to cool. Add additional water if the mixture is too thick. It should be easily
spreadable but not soupy.
Peel the apples and cut into fat matchsticks
that measure about 1.5 inch in length, 1/4 inch in width, and 1/8 inch in
thickness. They don’t have to be exact just about this size.
Place the sliced apple into a large bowl with
the 3 cups of water and lemon juice to keep them from browning.
Mix the water with the flour to form a thick
paste. This will act as the glue for the spring rolls.
Take a spring roll skin and place it on your
work surface in front of you such that a corner is pointing towards you.
Place one heaping teaspoon of the date mixture
in a line just below the middle of the spring roll skin closer to the corner
pointing towards you. Place four to five slices of apple on top of the mixture.
Roll the corner pointing towards you over the
filling. Fold the two side corners into the centre.
Spread some of the flour paste onto the
remaining unrolled sides and keep roll until it forms a log.
Place the spring rolls on a greased baking pan.
They can be packed relatively close together as they do not expand.
Melt butter in the microwave and brush the tops of
each spring roll with a generous layer of butter. This keeps them from drying
out too much and becoming hard instead of crispy.
Sprinkle them with sesame seeds.
Bake in a preheated 350 degree oven for 35
minutes or until golden brown.
These cakes are fluffy, moist and and essential to making Chinese-Western confections. A sponge cake or oven baked cakes in general are called 蛋糕 (dàn gāo) which literally translates to "egg cake" because of the inclusion of eggs in the batter whereas most Chinese cakes to not include egg.
While this style of cake did not originate in China, they have been accepted and adapted into Chinese culture and many changes have been made to make them more appealing to Chinese palates. Chinese confections and cakes in particular and much less sweet than their Western cousins. Furthermore, the cakes used and almost always sponge cakes as opposed to pound cake.
These cakes have also been given different flavours that might seem exotic to Western standards but are quite common in Chinese desserts such as: Red Bean:
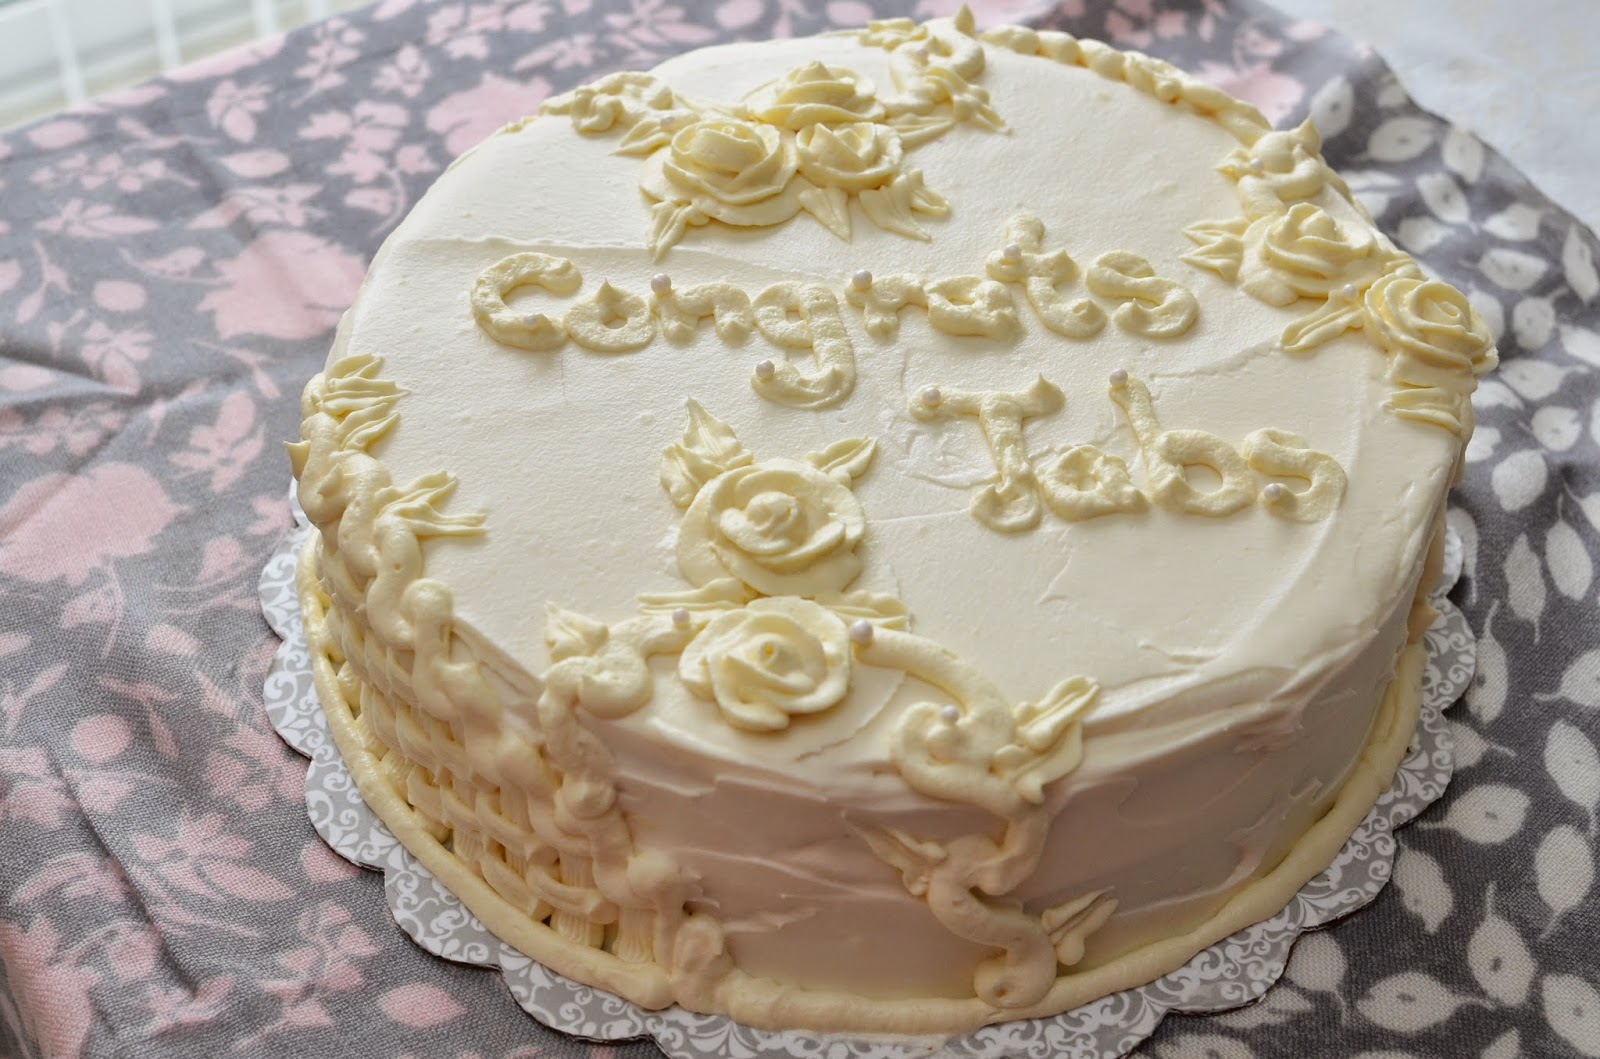
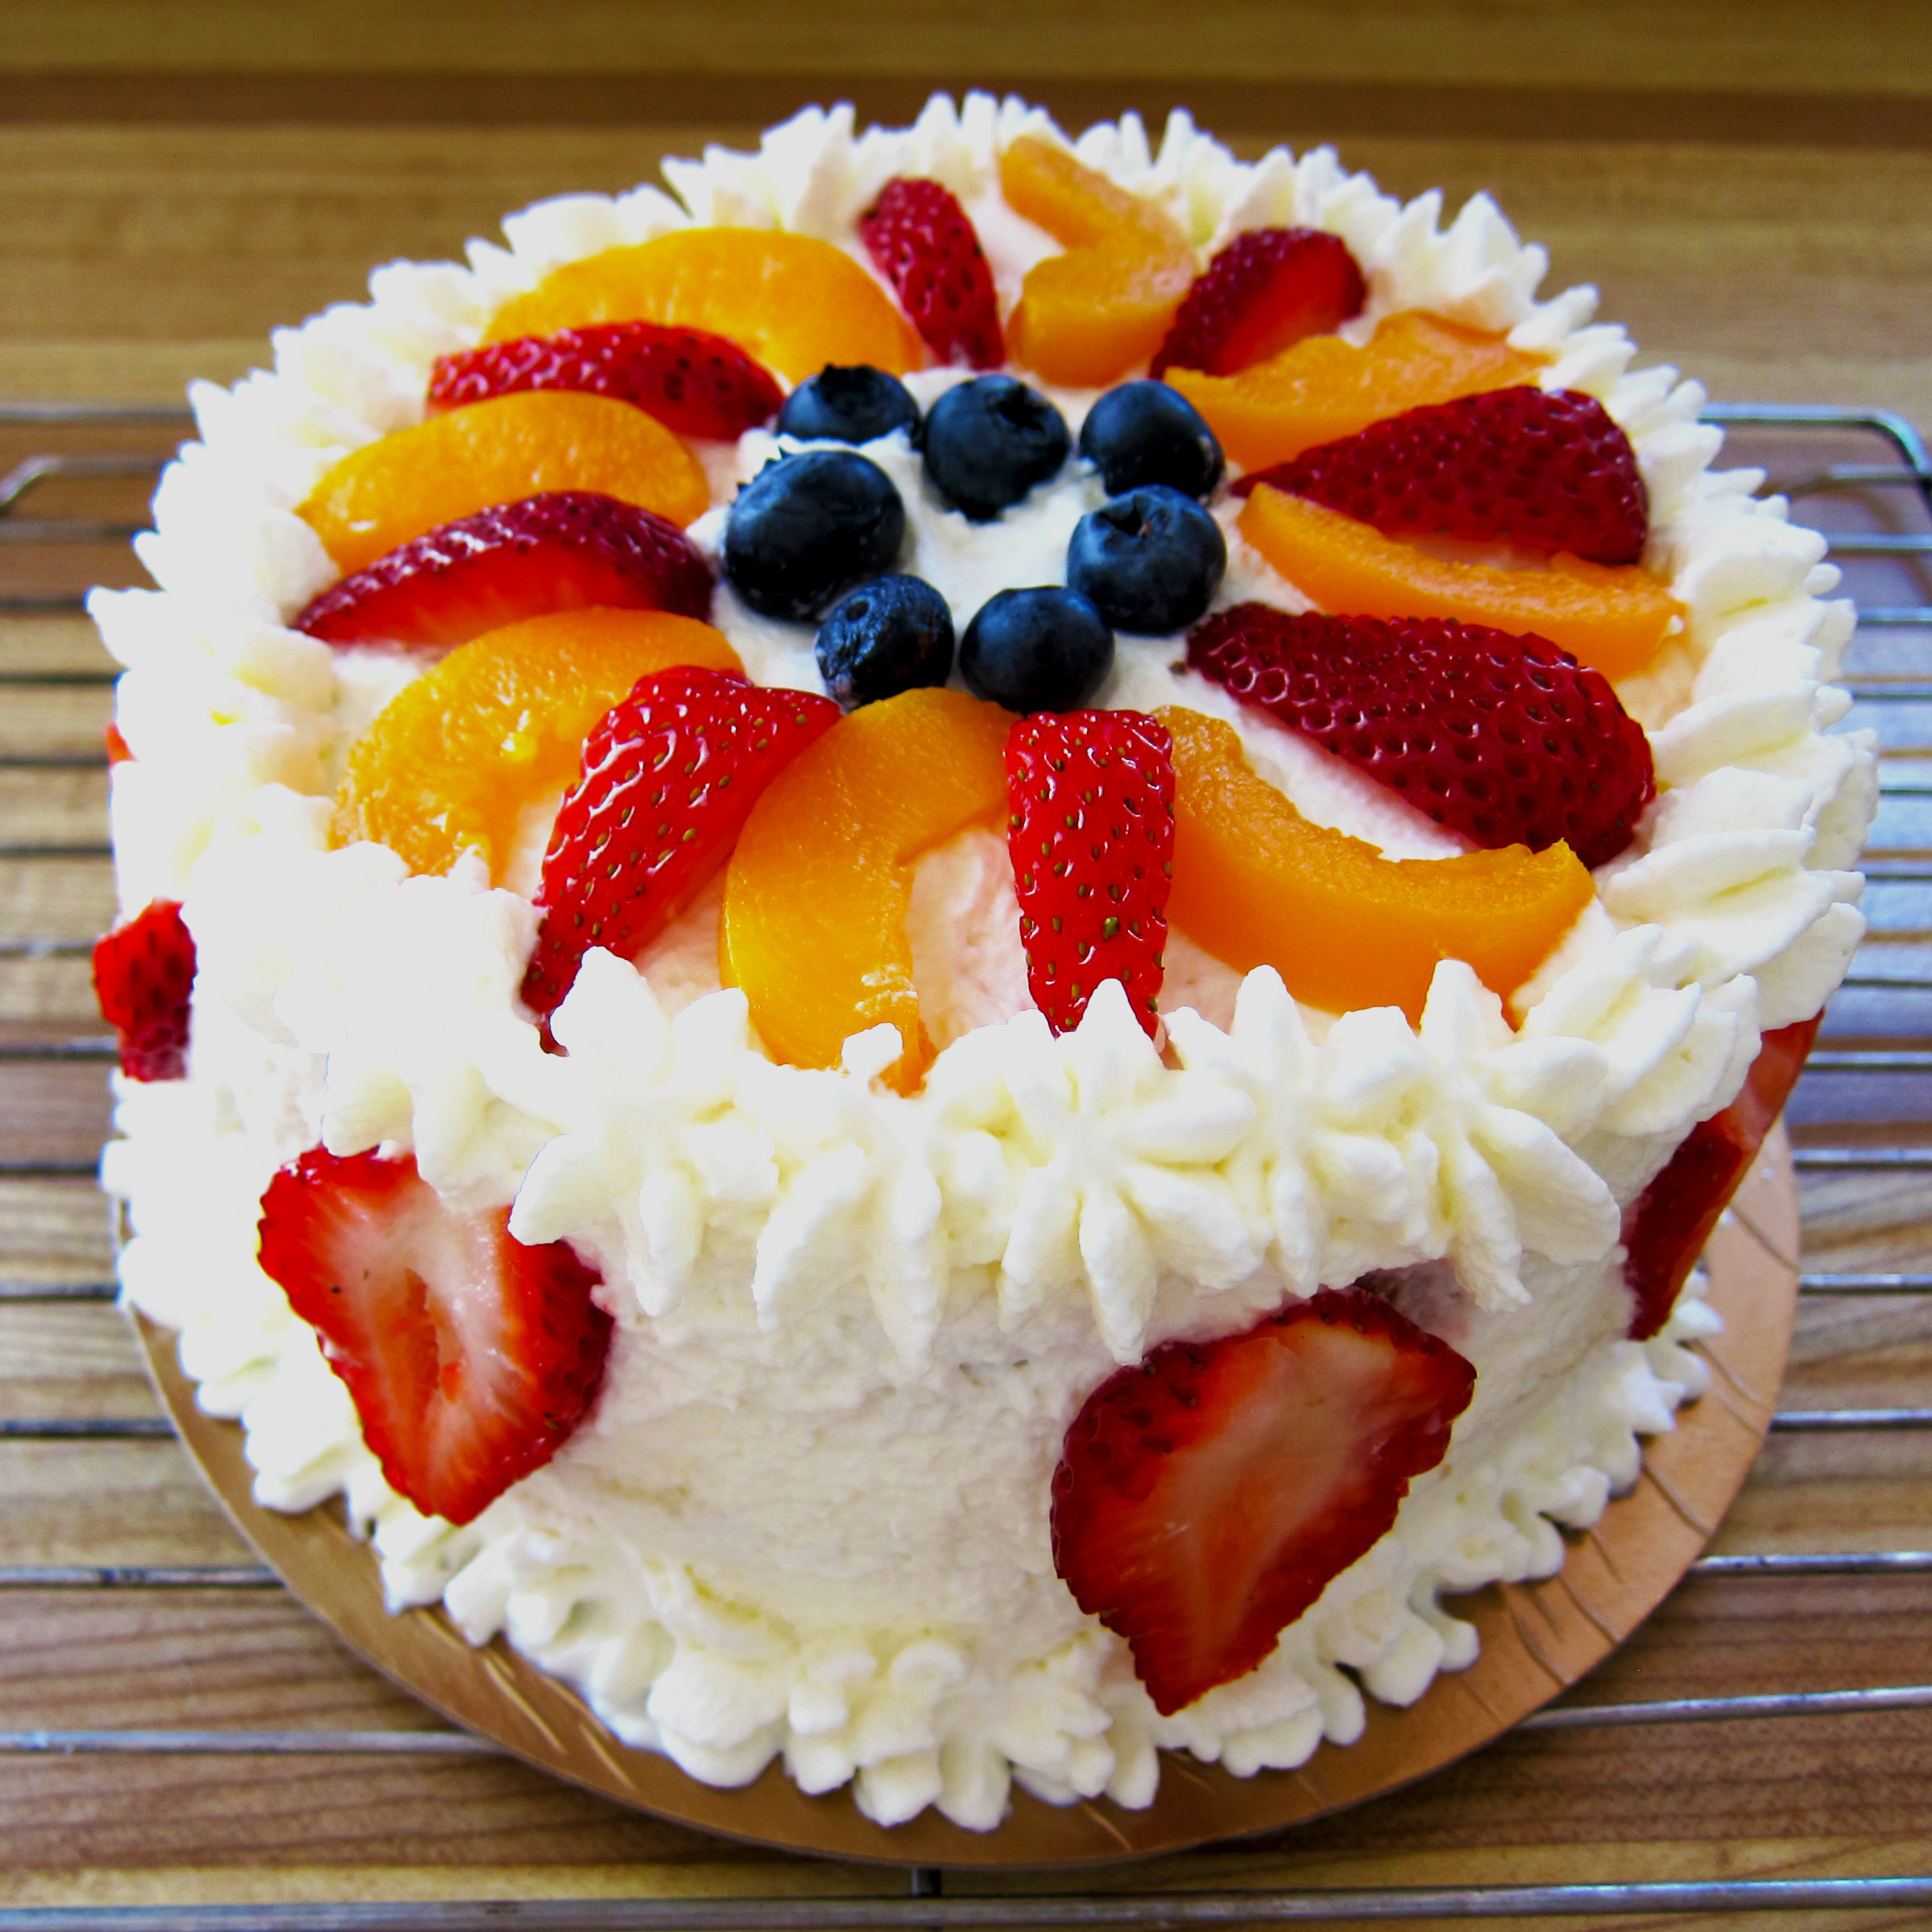
Source: https://blogger.googleusercontent.com/img/b/R29vZ2xl/AVvXsEi3i8wTydL17yYuxg7qki_lkO1CFBBeYdm_UWkCUDuRffSvHRbNNfHYFeoWeTHBlFaani6CsNVgbYpa4w1Dah3xPPDixcyjurXBI-baGMvkPJqi_Nu9RbpswMrD5NLJcHr7_tvlb5mQ7zk/s1600/chestnut+cake+7.jpg Fruit cake:
Source: http://angiesbakery.files.wordpress.com/2013/08/untitled-2.jpg The Chinese concept of a fruit cake is completely different from that of the West. It is soft, fluffy, airy, moist and loaded with fresh fruit. The Western version is dense, heavy, and loaded with dry fruit and often a lot of alcohol. Also, the Chinese prefer lightly sweetened whipped cream on their cakes as opposed to icings and frostings which are found to be too cloyingly sweet.
The recipe that I developed is the base for any one of these cakes and here it is: Ingredients:
2 cups all purpose flour
2 tsp baking powder
1/2 tsp salt
2/3 cups white sugar
2/3 cups packed brown sugar
4 eggs
1/2 cup vegetable oil
1 tbsp vanilla extract
1 cup milk
Method:
Sift together flour, baking powder and salt onto a large sheet of parchment paper or into a large bowl. A piece of parchment paper will make dumping the dry ingredients into the wet a lot easier. Set the dry ingredients aside while preparing the wet ingredients.
Separate egg whites from the egg yolks and place them into two different large mixing bowls.
Beat egg whites on low speed until frothy and add the white sugar. Beat mixture on high speed until glossy and stiff peaks form. Set aside while preparing the egg yolk mixture. Make sure the beaters and bowl are free from oil and grease or the whites will not whip properly.
Add brown sugar to egg yolks and beat on high speed until pale. You don’t have to clean the beaters after whipping the egg whites.
Add vegetable oil, milk and vanilla extract to egg yolk mixture. Beat again on high speed until all the ingredients are incorporated.
Pour dry ingredients into egg yolk mixture all at once and beat on low speed to combine. When the mixture is almost completely combined, switch to a spatula and fold in the remaining flour. This prevents overworking the batter.
Add in egg white mixture in two parts and fold to combine after each addition.
Pour into any type of mold you like and bake in a preheated 350 degree Fahrenheit oven. I used normal and mini cupcake mold and it took about 15 minutes.
Video recipe available here:
Enjoy! Despite the Chinese preferring whipped cream over icings and frostings, this cake will work well with either. It also tastes great on its own. I really hope you give this a try.
Happy Chinese New Year to all! And just in time for the Super Bowl I have a slider bun recipe. These are called 馍 (mó) in Chinese which is a generic term for bun or flatbread.
In China the staple starch differs from region to region, but they can be classified into two main groups. These starches are rice (obviously) and wheat. Rice reigns supreme in southern China and is often eaten for all three meals of the day. A typical day might consist of:
Congee and assorted sides for breakfast:
Source: http://soupbelly.com/2009/05/07/congee/
White steamed rice with assorted vegetable and meat dishes for lunch:
And the exact same steamed rice for dinner plus different sides.
In Northern China, wheat reigns supreme. But the wheat dishes are not baked in an oven. Instead they are steamed and boiled. A typical day might consist of:
Plain steamed buns (these things don't have filling) and assorted sides for breakfast:
Hence baked buns are little out of the norm. But I think this gives them better texture. So here's the recipe.
Ingredients:
2 cups warm water
1/3 cups brown sugar
4 cups all purpose flour or bread flour
1/2 tsp salt
1 1/2 tsp instant yeast
Method:
Ensure that the water is just above body temperature by sticking your pinky into it. If the water feels warm and almost hot then it is the correct temperature for activating the yeast.
Dissolve the sugar in the water before adding the yeast. Stir gently with a spoon and set aside for the yeast to activate.
In a large mixing bowl add 2 cups of the flour and the salt. Give the mixture a quick whisk to remove any lumps and to distribute the salt. Set aside until the yeast activated.
After about 1-2 minutes, the yeast mixture should have a layer of froth on top and small bubbles should be rising to the top of the container. This means the yeast is activated. Stir the mixture again to ensure the yeast is evenly distributed in the liquid and pour all of it at once into the flour and salt mixture.
Use a spatula to mix the wet and the dry into a very wet batter-like mixture. Place the mixing bowl on the stand mixer and attach the dough hook. Knead on low speed and add the rest of the flour 1 cup at a time. Ensure that the previous cup is completely incorporated before adding the next cup.
Once all the flour is added, continue to knead the dough for 6 minutes or until it is stretchy, soft and slightly sticky.
The resulting dough will be very soft and moist. To prevent it from sticking to your hand, spray your hands with cooking spray or lightly oil them with canola oil. Lift the dough out and fold it into itself to form a smooth surface on top. Spray the mixing bowl with cooking spray and roll the ball of dough in the oil to coat evenly. Place the ball of dough smooth side up in the bowl and cover the bowl with plastic wrap.
Put in a warm place to rise for 1 hour or until doubled in size. I put mine in my oven with the oven light on.
After the dough has risen, punch the dough down and pinch off portions about the size of a ping pong ball. Fold it into itself to form a smooth surface and roll it between your hands to make a ball. Stretch each ball between your fingers to flatten them slightly into a disk and place on a greased baking sheet.
Lightly oil the top of the buns with cooking spray and let it rise again for 15 minutes or until slightly puffed and plump.
Bake in a preheated oven for 25 – 30 minutes or until golden brown on the top and the bottom.
Let them cool for 5 minutes before slicing them almost in half but leaving a small hinge on one end so it’s not completely detached.
Video recipe available here:
Note: If you do not have a stand mixer, add 3 cups of flour to the initial mixture and dump the ball of dough onto a well floured surface before kneading the rest of the flour in by hand. The resulting texture will be the same, it just takes more time and effort. And it's a great work out.
My family loves to eat these buns with my Chinese Braised Pork Belly. The recipe for which can be found in my last blog post here. But these will go great with a beef patty, pulled pork, or falafel maybe? Haha, be creative with it.
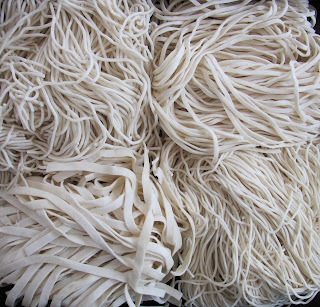
Sticky rice cakes are staple for New Years and Chinese New Years. The Chinese for Sticky Rice Cake is 年糕 (nián gāo) which literally translates to "year cake". It's also a homonym for "high year" or prosperous year and so we like to start the year on a high note and hopefully have a prosperous year to come. This is my go-to sticky rice cake recipe when I'm short on time and it feeds a lot of people.
Before I get into the how-to, I just want to share a little on the history of these sticky rice cakes in China. It seems I see a lot on how Japanese mochi is made and how Korean Tteok is made, but not much on how Chinese nian gao is made. Mochi, tteok, and nian gao are all sticky rice cakes, but from different countries. Each region in China has its own style of sticky rice cakes and their own method of preparation. Ningbo, a city close to Shanghai, is famous for its sticky rice cakes. Their style of rice cakes is made through pounding as shown in the image below.
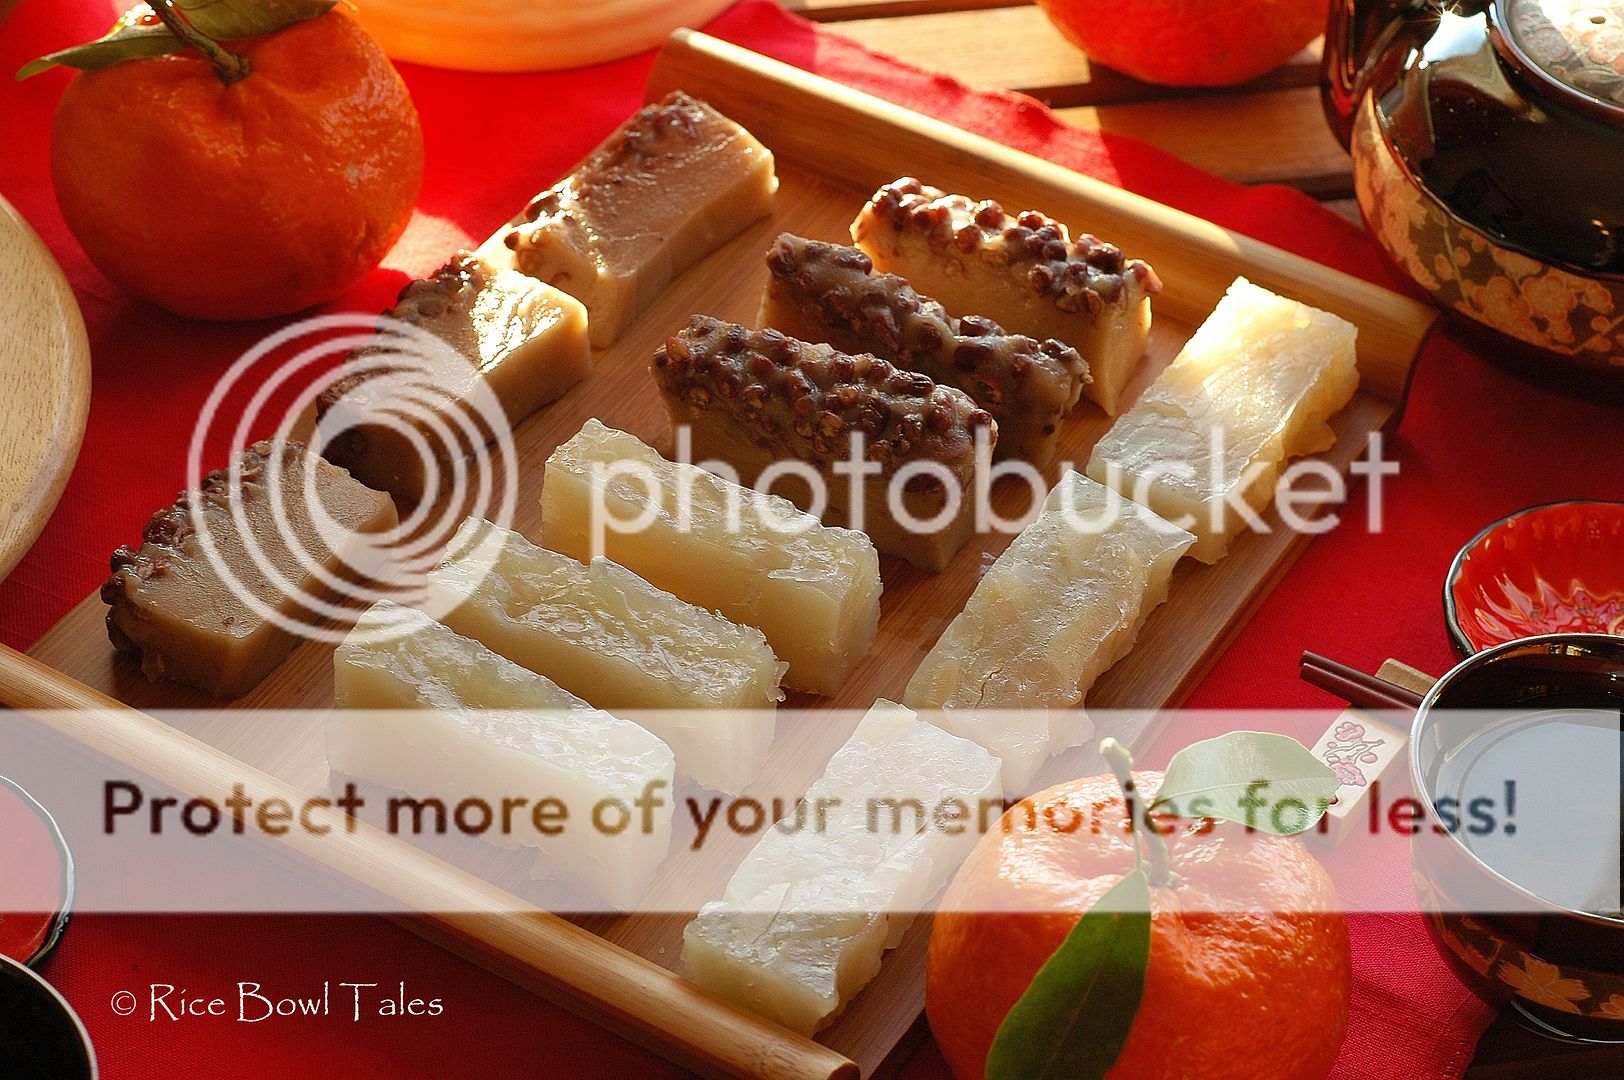
Source: http://www.shanghaitour.net/news/news.jsp?newsid=22361 This is a very similar creation process to Japanese mochi. The image above shows the creation of sweet rice cakes but they also come in bricks which can be used in cooking for both sweet and savoury applications.
Source: http://www.wz11185.com/Product/24056.html In Shanghai, they are most often used in savoury applications where the bricks are sliced into coins and stir fried with vegetables and meats which I also have a recipe for but haven't had the time to write up yet.
1 pound glutinous rice flour or sweet rice flour or mochiko which is about 3 3/4 cups
1 cup brown sugar
2/3 cups canola oil
1 1/2 cups coconut milk
1/2 cup evaporated milk
3 eggs
1/2 tsp salt
1 tsp vanila
1 tsp baking powder
1 tbsp toasted sesame seeds
Method:
1. Preheat the oven to 350 degrees Fahrenheit.
2. In a large mixing bowl, combine the flour, coconut milk, evaporated milk, oil and eggs and mix to combine.
3. Add the brown sugar and mix. Then add the salt, vanilla and baking powder and mix. You don't have to mix 3 times, but I like to do it to get a more even consistency and it makes it easier to combine everything.
4. Pour into a greased 8 by 11 baking pan and bake at 350 for 30 to 35 minutes depending on your oven. Mine took 30 minutes.
5. To test if it's done, insert a toothpick into the centre of the cake and if it comes out clean, it's done.
6. Let it cool for 15 minutes before slicing and serving.
Video recipe available here:
Enjoy!
And here are some of the ingredients I used for your reference. Hopefully you'll be able to find it in your local Asian market or grocery store.